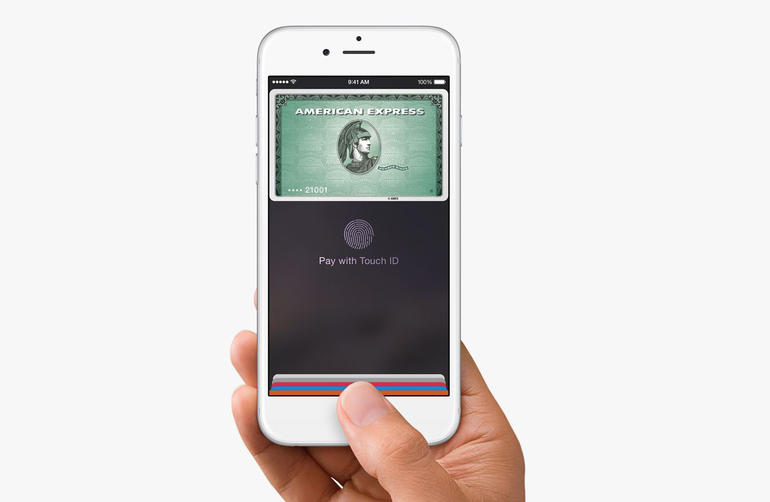
If the Apple iPhone 6 and iPhone 6 Plus are great at something, it’s paying for stuff. A transaction only takes a couple of seconds to finish. And if you’re one of those people who take out their wallets out of their bags regularly, then this whole process will be effortless.
Step 1: Register to Apple Pay
One of Apple Pay’s biggest assets is its security. Once you register a card using Apple Pay, the card number isn’t kept inside the device. Instead, your iPhone sends a notification to companies like First Data, to exchange the card’s real number for an alias. This alias is known as a token. The token comes in the form of a devalued number with 16 digits, and is kept inside an iPhone chip called the Secure Element.
Step 2: Set Up Your Apple Pay
So once you make a purchase, your phone will send the token over to the merchant, instead of your real credit card number. Fingerprint scanning is the only way to gain access to your token. If you want to try out mobile payment, then you still need to set some things up, and fortunately, it’s a very easy process.
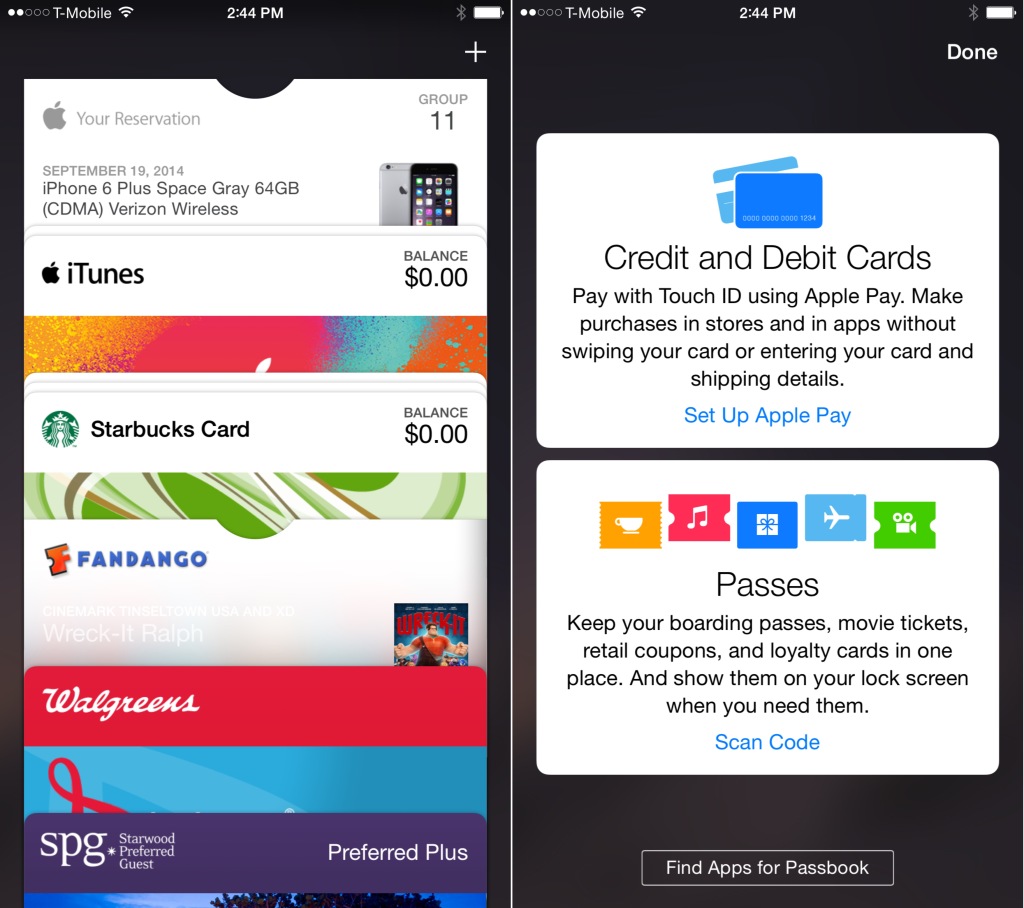
Passbook Apple Pay
You can set up an Apple Pay in your iPhone or iPad’s Settings. Open it up and then click on ‘Passbook & Apple Pay’. You need to include a debit card or credit card, which is the first choice. But before you can do anything, you need to enter your Apple ID password, because Touch ID will not work.
Step 3: Choose Where You Want to Use Your Apple Pay
Then you will be faced with two choices: You can use a card on file with iTunes, or just set up Apple Pay and work with another card. If you want to use your card on file, you have to type in the security code found on the back of the actual card. Once the security code has been placed, agree with the terms and conditions. You might want to read this first before proceeding. After agreeing, you will be asked for your permission to allow Passbook to track down your location when using the Apple Pay app.
Apple Pay
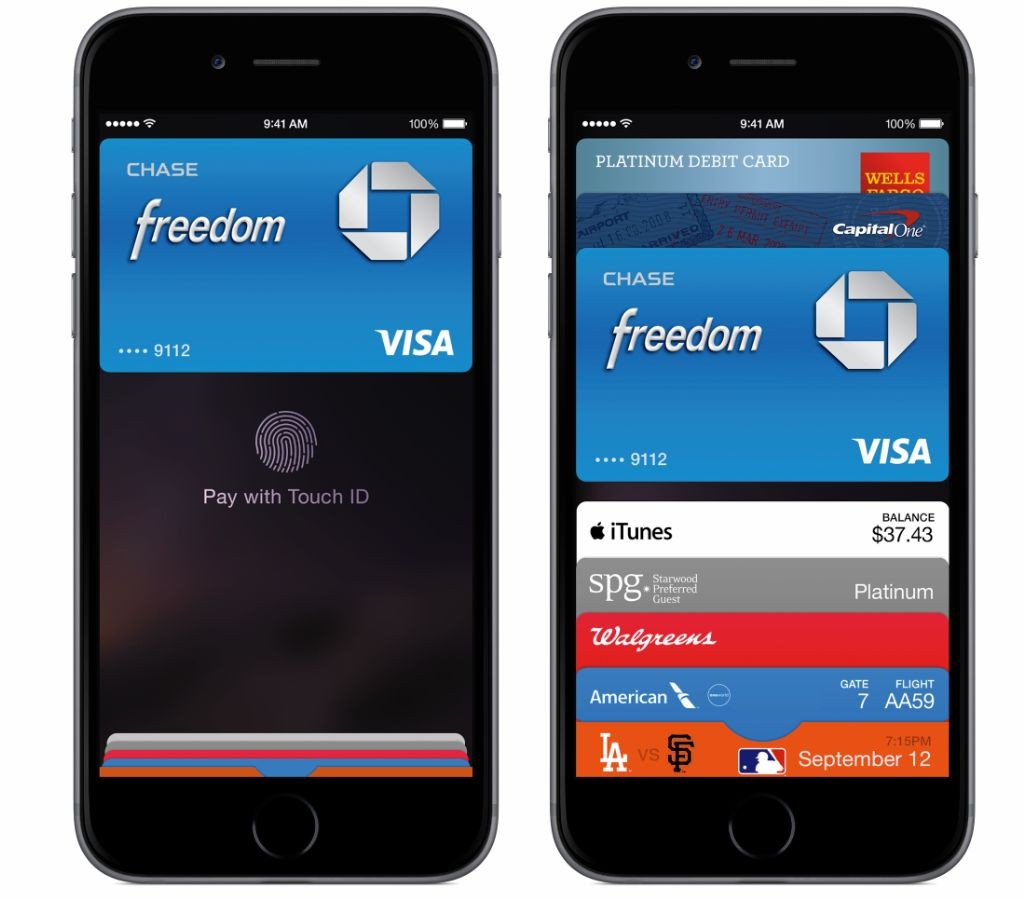
When you’ve added a card, it will appear under the ‘Cards’ section. You can tap on any of the cards to look at its details. Different cards can be added, in case you want to make a payment with a different one. For example, if you go on a business trip, you can switch the default card to another card through tapping the ‘Default Card’ option. You can also include other details such as billing and shipping addresses, phone numbers, and your email.
Leave a Reply