It is always essential to back up the files in your computer. For example, Windows contains some integrated backup tools, Ubuntu has its Deja Dup, and Mac OS X uses Time Machine.
Time Machine has the ability to back up every file on your Mac, from personal files, to system files.
Time Machine is a built-in backup that can keep your files inside an external drive. This drive has to be connected to a Mac, or an AirPort Extreme router.
It also has to have a network attached storage (NAS) device that can support Apple’s Time Capsule. But you are still required to set up these services for them to assist you when you accidentally delete one of your important files.
Time Machine can create a backup of your whole hard disk, every week, every day, and every hour. Here’s how to do it:
Time Capsule
Step 1: Connect External Drive to Your Mac
First, connect your external drive to your Mac. You will then be asked if you would like to configure the drive as a Time Machine drive.
Your Mac will only ask this question if you don’t have a configured Time Machine drive yet. From here, you can just click on Use as a Backup Disk, and Time Machine will immediately start the backup of your files. Then click on the Encrypt Backup Disk option if you want your backup disks to be secure with encryption.
Step 2: Format External Drive
If your drive has been formatted with the Windows NFTS or FAT32 file systems, you will then be asked to remove the contents of your drive, and reformat it using the Mac HFS+ file system.
Click on the Time Machine icon found in the Menu bar, and choose Open Time Machine Preferences. You can also choose to open up the System Settings Option, and click on Time Machine, to gain access to its preferences window.
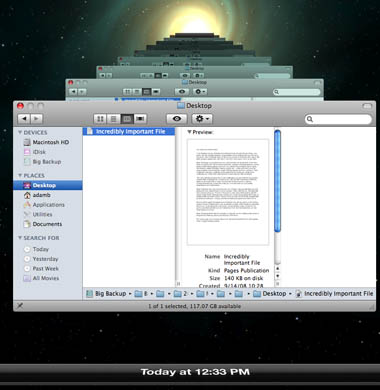
Time Machine
Step 3: Backup Files
Time Machine has the ability to back up external drives, AirPort Time Capsules, and network locations.
Your Mac can be backed up to various locations, alternating in between these locations so you will be able to have backups in two or more areas.
This is how to restore individual files from inside a Time Machine backup:
Choose the Time Machine icon on the Menu, and then select Enter Time Machine. You will be sent to the Time Machine window.
In this window, you will be able to search through the folder or file that you have to retrieve. Look for your desired file or folder, and then select the Restore button. Time Machine will make a duplicate of the file back to its current location on your hard disk.
Leave a Reply